
I wanted a wardrobe. A big wardrobe. Going from a large amount of built in wardrobe space, to none, was not a disaster, but after 4 months of waking up and seeing clothes racks flanking the window, enough was enough.
Charity shop stock was too variable (both in size and style), new pieces too expensive, so something plain, which we could jazz up became the aim. The best compromise between function (space), looks and price, was the Dombas from Ikea, and you have to admit, it's not much of a looker....
 |
| The Ikea Dombas |
In terms of other "Ikea Hacks", the Dombas has been transformed with a pretty stencil, chalkboard paint and fabric. This was my inspiration, a beautiful painted backdrop for a party, complete with step-by-step guide for how it was done.
 |
| Painted Backdrop from Celebrations At Home |
Design-wise, it was important to me that the base pattern was symmetrical about the centre. After a quick brush over with sandpaper, and a coat of white (in case we did need to touch anything up later - at least then the paint would match the background), much measuring (and some remeasuring), we started laying the base squares/diamonds using frogtape.


Next we built up the motif from the backdrop. Originally I had intended to use this over the whole of both doors, but I quite liked the zig-zag we had created, and wanted to make a bit more of a feature of this.


This was the final taped pattern.

Painting time! I wanted a three colour pattern, rather than the two used in the backdrop, and after some sketching by hand, in the absence of better software, tried playing with different layouts in Powerpoint.

 Although I used the Powerpoint designs as a guide, in the end it was a bit more intuitive, umm-ing and ah-ing, paintbrush in hand. In terms of the colours, I mixed two intermediate shades from the Annie Sloan Chalk Paints: Aubusson Blue and Old White.


Then it was the moment of truth - time to peel back the tape!


Sealing the paint with wax (due to being chalk paint - more on this in a later post), and adding the mirrors, and I had my finished wardrobe. Woo hoo!

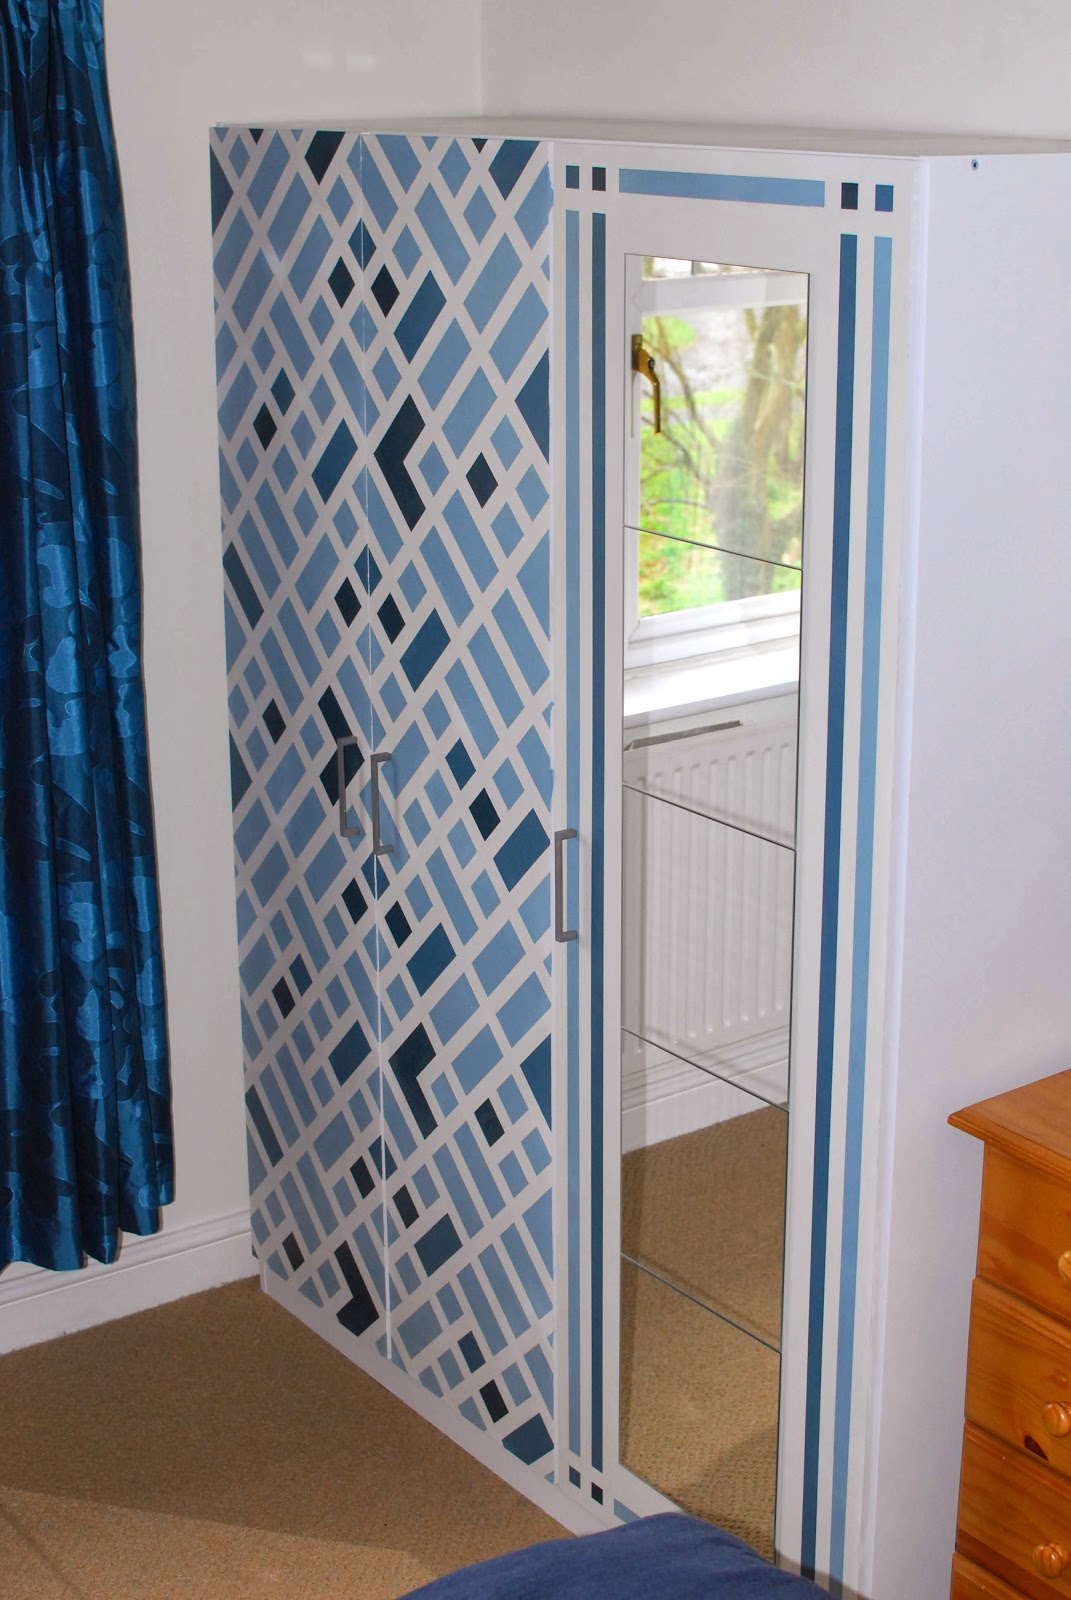
This felt like a big second project (the first being painting a small table in one colour) for a novice - there were definitely aspects that could have been improved - however, sometimes "done" is better than "perfect".
Done! (*big grin*)

Finally saw the 'read more'! Love it, and mine would have to be symmetrical too!
ReplyDeleteThis is my favorite of the Dombas makeovers I've seen (thank you, Google). I have one that I haven't decided exactly what I want to do with yet, other than not use the third door in front of the shelves. (Although I do love the simplicity of the mirror & painted frame on yours...)
ReplyDeleteThanks Rachel. It was quite exciting transforming the big white area into something more fun. I'd love to know what you end up doing - let me know how you get on!
DeleteThis looks great!
ReplyDeleteWhat type of paint did you use? I plan to paint my whole wardrobe.
Thank you! I used Annie Sloan Chalk Paint. It's water based, so nice to paint with indoors (not too many volatile fumes). It's a bit different to normal paint as you then have to seal the paint with a wax or varnish.
Deletethis looks lovely! planning to paint this as my first project so highly nervous! did you use a primer?
ReplyDeleteThanks Rubaina. Nope - just sanded the doors slightly as I was worried they might be a bit smooth, wiped down and then painted.
DeleteThis comment has been removed by the author.
ReplyDelete